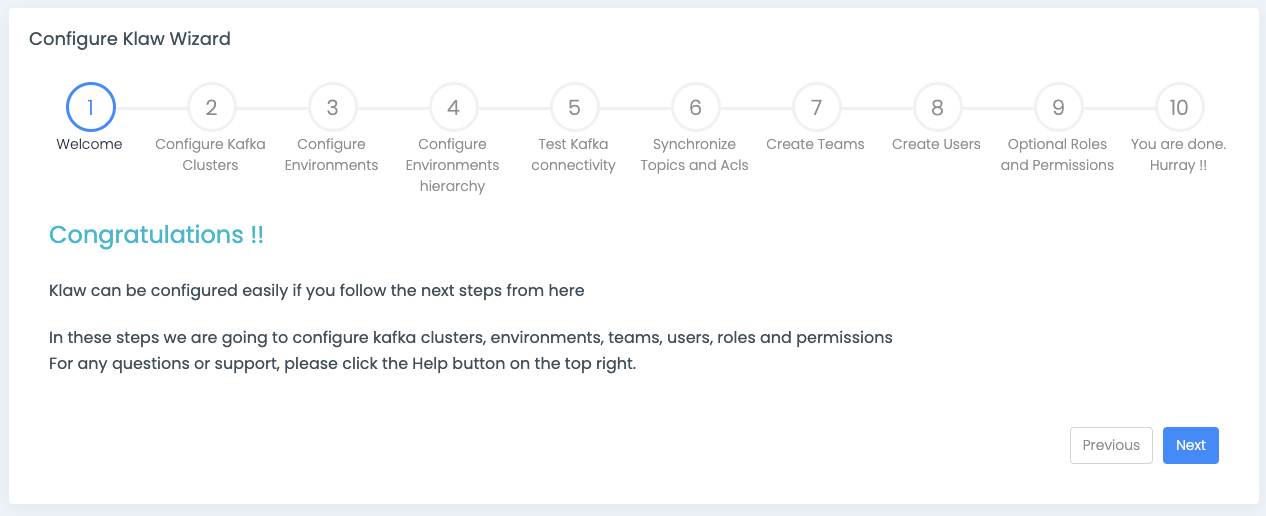
Configure Klaw with wizard
The first time you log in to Klaw as an administrator, you will see the Klaw configuration wizard that guides you through the steps required to configure the Klaw cluster.
For subsequent logins, you access the Klaw configuration wizard using URL: [https://host:port/helpwizard]
-
Configure Apache Kafka® clusters
The first step is to configure your Apache Kafka cluster. You can add any number of clusters. Only users with SUPERADMIN roles (or check allowed permission) can add clusters.
After adding the cluster, based on the protocol selected (SSL or any other protocol), ensure the Klaw Cluster API's
application.propertiesfiles include the relevant configurations.Example:
dev1.kafkassl.protocol=TLS
dev1.kafkassl.key.pwd=trustme
dev1.kafkassl.keystore.location=/srv/certs/client.keystore.p12
dev1.kafkassl.keystore.pwd=trustme
dev1.kafkassl.keystore.type=PKCS12
dev1.kafkassl.truststore.location=/srv/certs/client.truststore.jks
dev1.kafkassl.truststore.pwd=trustme
dev1.kafkassl.truststore.type=JKS -
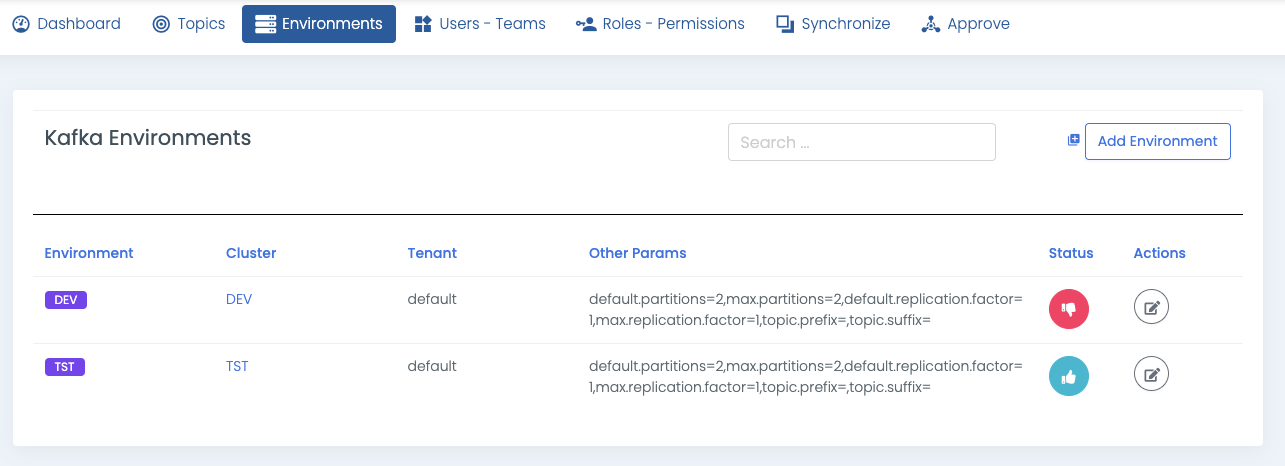
Configure Environments
Environments are wrappers over your Apache Kafka clusters. You can add any number of environments and have multiple environments connected to one Apache Kafka cluster with different settings. Only users with SUPERADMIN roles (or check allowed permission) can add environments by default. Additionally, you can configure the partitions, replication factors, topic prefixes, and suffixes for your Apache Kafka topics under Apache Kafka environments.
-
Test Apache Kafka connectivity
After configuring environments, you can test the connection by clicking the validate button.
-
Configure Tenant and Environment hierarchy
Klaw is multi-tenant by default. Every tenant has its own set of Apache Kafka environments, and users of one tenant cannot view/access topics, or ACLs from other tenants. To configure tenants, navigate to Dashboard -> Settings, and look for
klaw.tenant.config.Example :
{
  "tenantModel": {
    "tenantName": "default",
    "baseSyncEnvironment": "DEV",
    "orderOfTopicPromotionEnvsList": ["DEV"],
    "requestTopicsEnvironmentsList": ["DEV"],
    "baseSyncKafkaConnectCluster": null,
    "orderOfConnectorsPromotionEnvsList": null,
    "requestConnectorsEnvironmentsList": null
  }
} -
Synchronize topics and ACLs
If you already have a Apache Kafka cluster, you can easily migrate topics and ACLs to Klaw using the Synchronize option. As a SUPERADMIN, you can synchronize topics and ACLs by default. Navigate to Synchronize menu and select Topics from cluster or ACLs from cluster to synchronize the topics or ACLs. You also can synchronize topics individually or with a bulk option, assigning all at a time to one team. Users can synchronize topics from cluster to Klaw with
SYNC_TOPICSpermission.
-
Create teams
After adding clusters and environments, you can create Teams. A team owns topics and is also a collection of users. A user can manage teams with
ADD_EDIT_DELETE_TEAMSpermission. -
Create Users
Users can be created and assigned to the newly created teams. A user with
ADD_EDIT_DELETE_USERSpermission or the SUPERADMIN role can add users. -
Create any other Roles and Permissions (Optional)
A role is a collection of permissions defining the tasks a user can perform. Add roles and assign permissions to the added roles. A SUPERADMIN can add roles by default. Other users can add roles with
ADD_EDIT_DELETE_ROLESpermission.
You are all set now. Your team members can request topics or ACLs and approve requests.